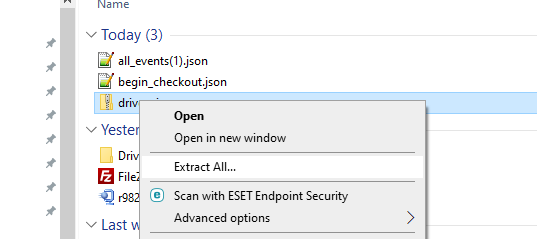
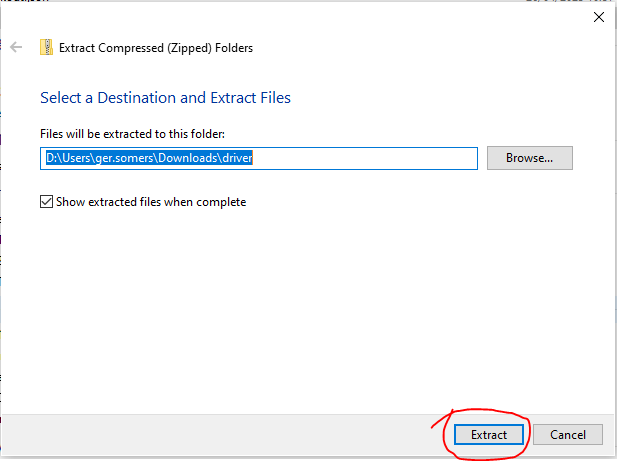
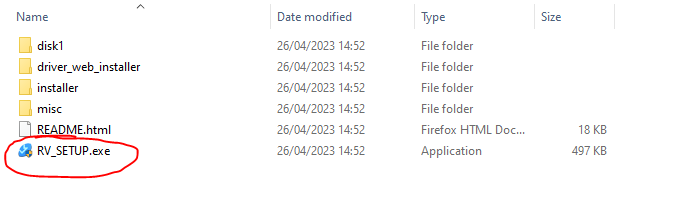
2. Install Driver
Double click the RV_SETUP.exe file to run.
Click Yes if prompted to allow 'App to make changes to this device'.
Please note you will need local admin rights to install drivers on your PC!
When you click the installer, if your PC requests a Username and Password, you will need to contact your IT department, for assistance.
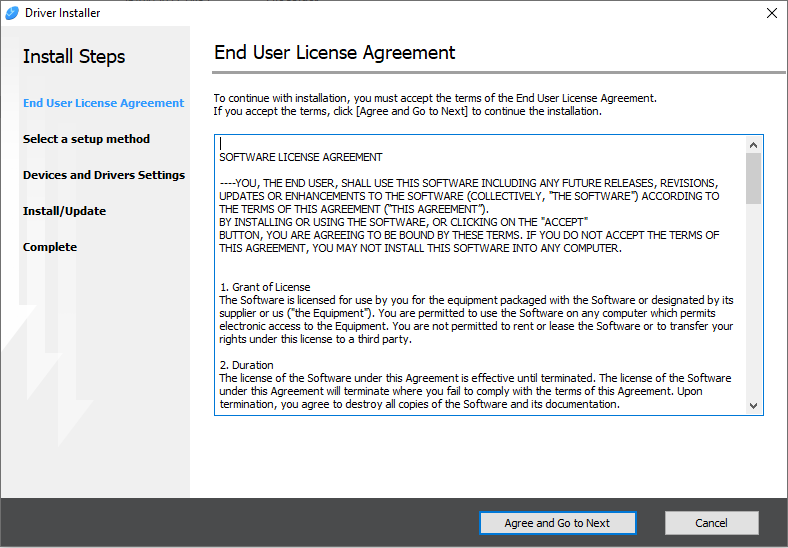
Click Agree and Go to Next.
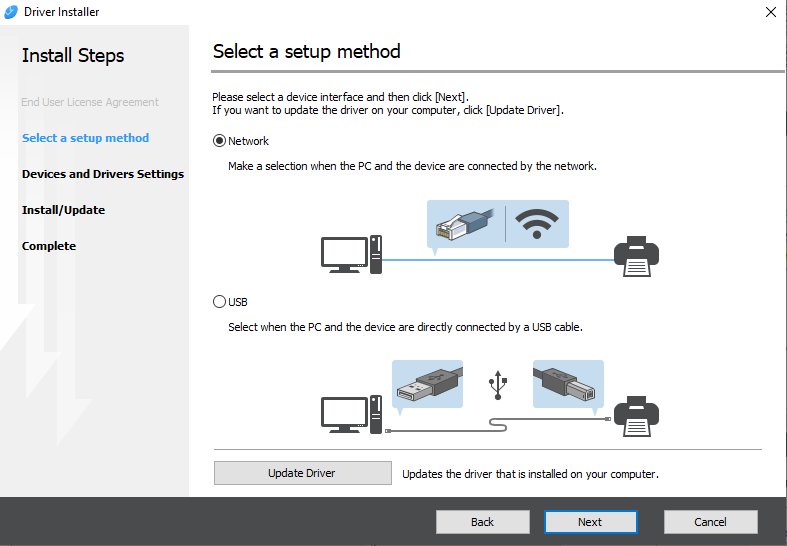
On the Select a setup method, select Network option click Next.
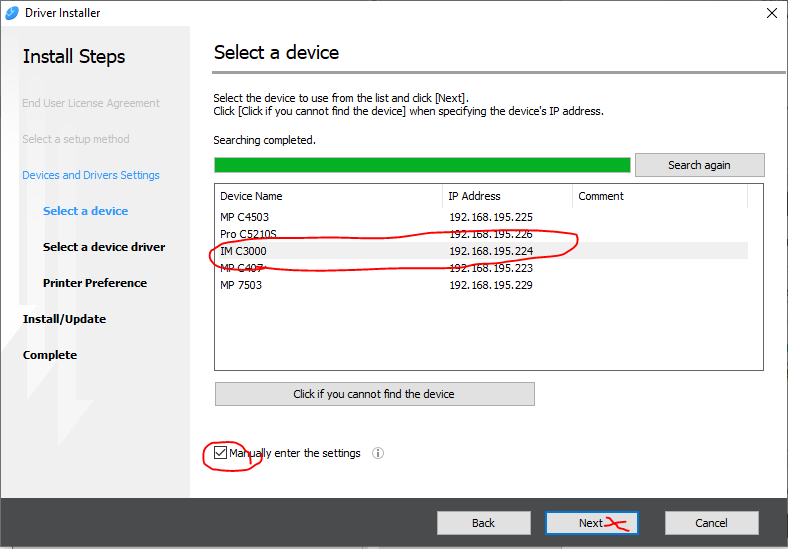
Select the correct device in the list, by verifying the IP address and Model is correct.
Click the Manually enter the settings tick box. (this allows you to name the printer as required)
Click Next.
Tip: Printer not showing in the list?
If you are using Wifi, make sure you are connected to the same network as the Printer. Not the Guest Network.
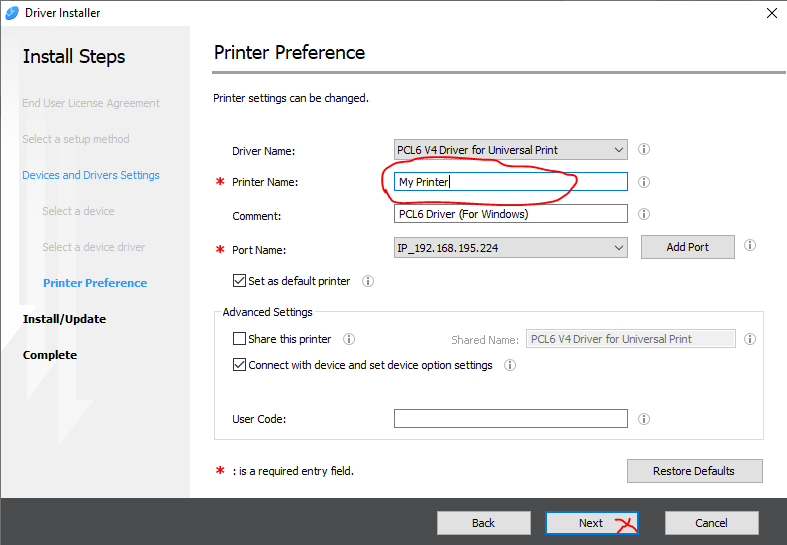
Enter the required Printer Name e.g My Printer
Click Next
The installer will now install the printer for you.
When complete click the Print Test Page button to verify that the printer is printing correctly, a test page will be output to the printer.
Click Finish to exit the installer.
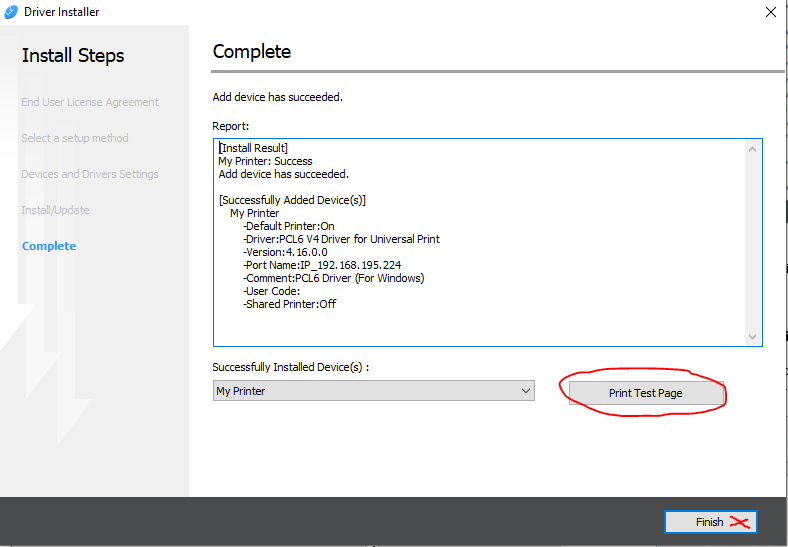
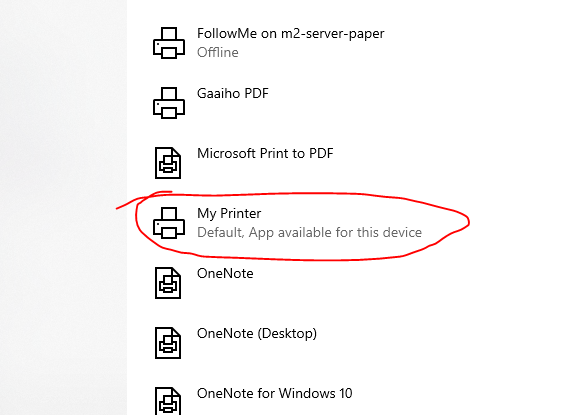
Open your Printer and Scanners settings dialog. (Tip: Use the Windows 10 search)
Verify that the new printer is now showing.
3. Set Print Defaults (optional)
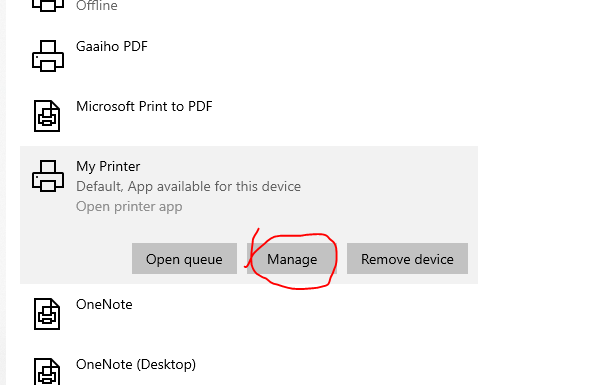
In the Printers and Scanners settings window.
Click on the Printer e.g My Printer
Click the Manage button.
On the Printer setting dialog select Printer properties
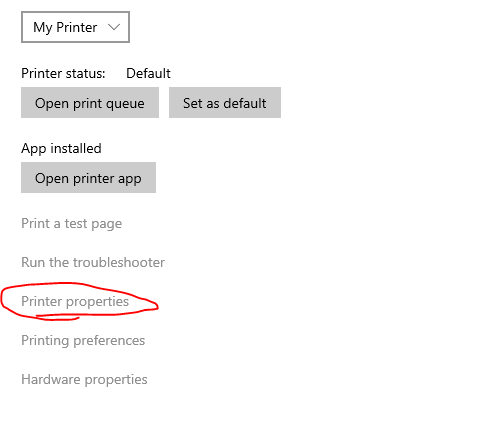
Click Advanced tab and click Printing Defaults button.
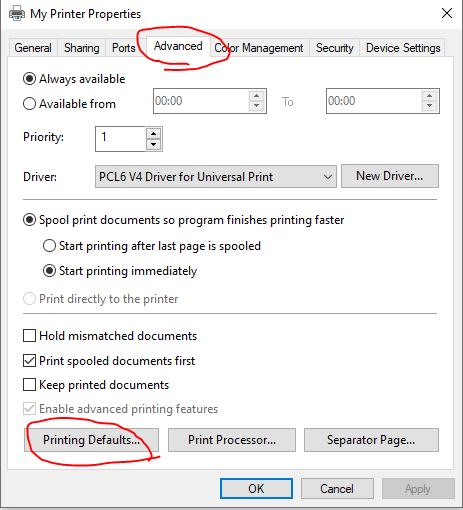
Select the print defaults you require. E.g 2 sided/duplex, Colour / Black and White
Click Apply button and close all the windows.

Your new printer should now be installed and ready for use.

 Office Chairs
 Home Office Chairs
 Executive Chairs
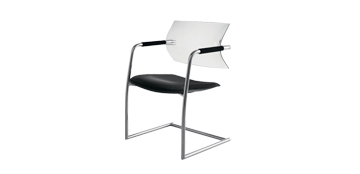 Meeting Chairs
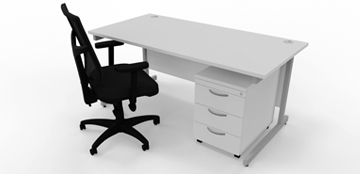
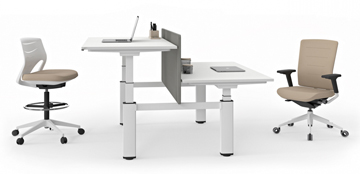 Office Desking
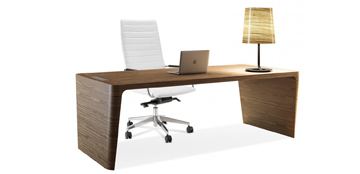 Executive Desking
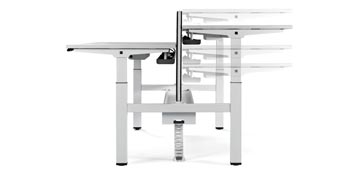 Ergonomic Solutions
 Home Office Furniture
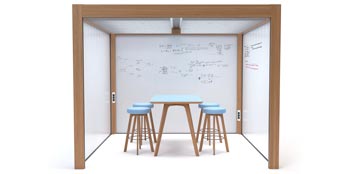
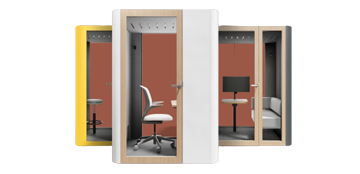 Acoustic Meeting Pods
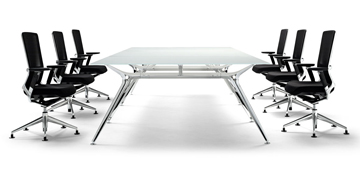 Boardroom/Meeting
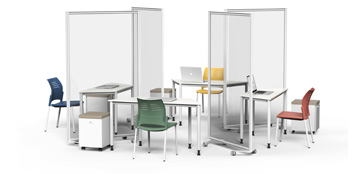
 Acoustic Office Solutions
 Canteen furniture
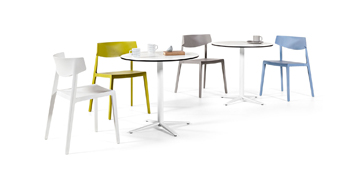
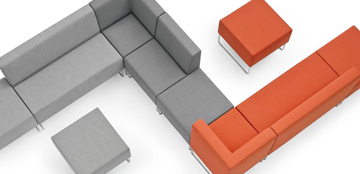
 Collaborative Furniture
 Training Room
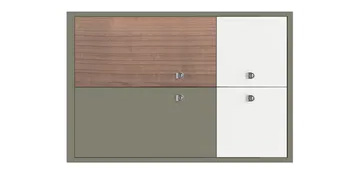 Lockers
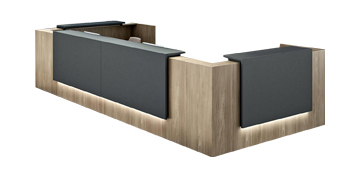 Reception Units
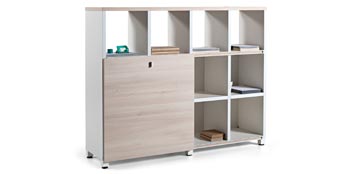 Office Storage
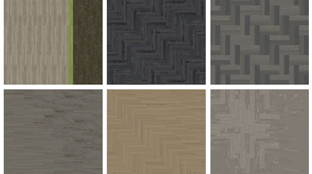 Office Flooring
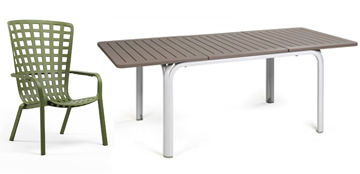 Outdoor Furniture
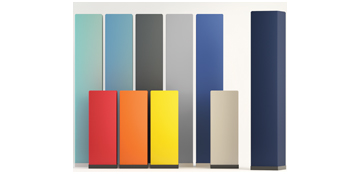
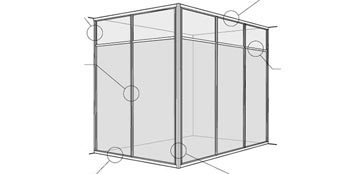 Partitions
 Reception and Break-out Furniture
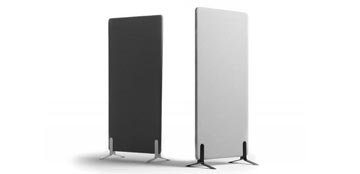 Screens
 Classroom Furniture
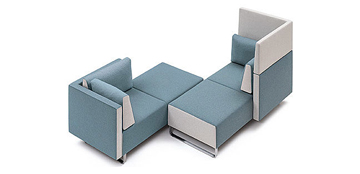
 Sofas and couches
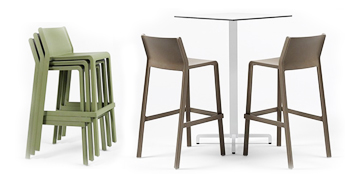 Bar and Restaurant Furniture
 Accessories
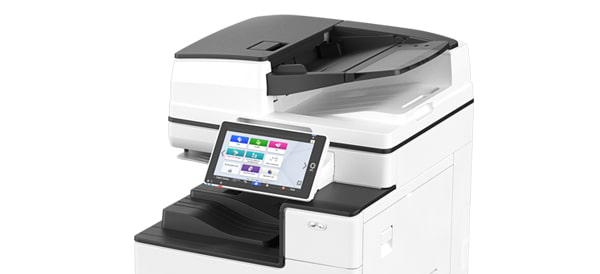
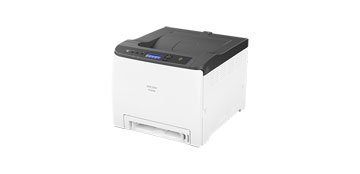 Printers
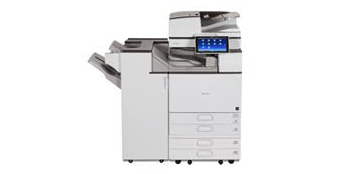 Multi-function Printers
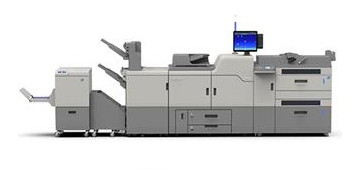 Commercial Printers
 Large Format
 Scanners
 Office Shredders
 Air Purification